How to Cleanly Remove a vSphere Datastore

Removal of datastores is one of those things that seems like it would be simple, and it’s not complex, but there a few steps and you have to do them in the correct order to produce the best result. There are also some KB articles out there that are rather outdated, have mixed information, and don’t cover the graphical options available today. So in this short article, I’m going to run through the best practice way to remove a datastore from an ESXi host without destroying its data. These steps are generated on vSphere 6.5 U1 using the web client. Using this method is preferable for workflows like unpresenting storage from a set of hosts and migrating it to others, lab tests, or anything else where you want a clean inventory view while preserving VMs.
Right, so here’s what my inventory consists of.
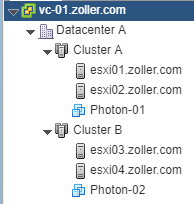
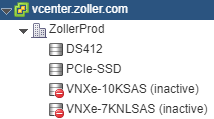
I’ve got an iSCSI datastore mounted to two clusters of two hosts and there are two VMs on this datastore. The objective is to remove the ClusterA-iSCSI-01 datastore from all hosts leaving no traces behind in inventory. What we don’t want is for them to show up like this, which, if you’re reading this, you’ve probably made that mistake before.
Let’s go through the steps here:
- Power down all VMs on the datastore you wish to remove.
- Unregister all powered down VMs from inventory.
- Unmount the datastore from all hosts.
- Detach the device from all hosts.
- Rescan for storage devices.
Five steps, and you need to do them in this order if you want clean removal of the datastore from your vCenter’s inventory while preserving the data. Let’s go through them one by one.
1. Power Down VMs
Pretty simple. All VMs on this datastore must be powered off.
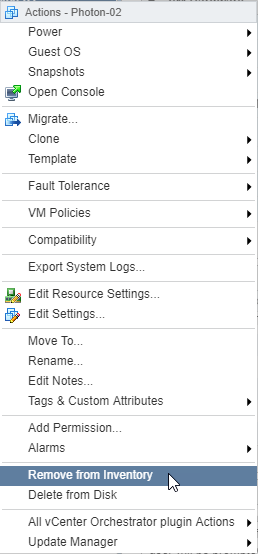
2. Unregister all VMs
Again, straightforward. You cannot unmount a datastore that has any registered VMs on it, which includes templates. Right-click each VM and unregister it.
3. Unmount the Datastore
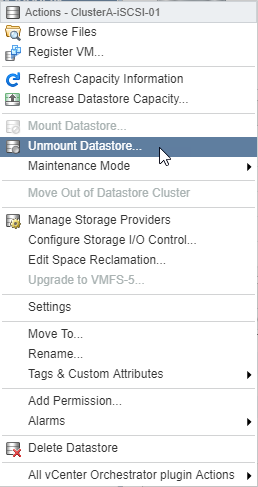
With all VMs unregistered, right-click on the datastore and unmount it.
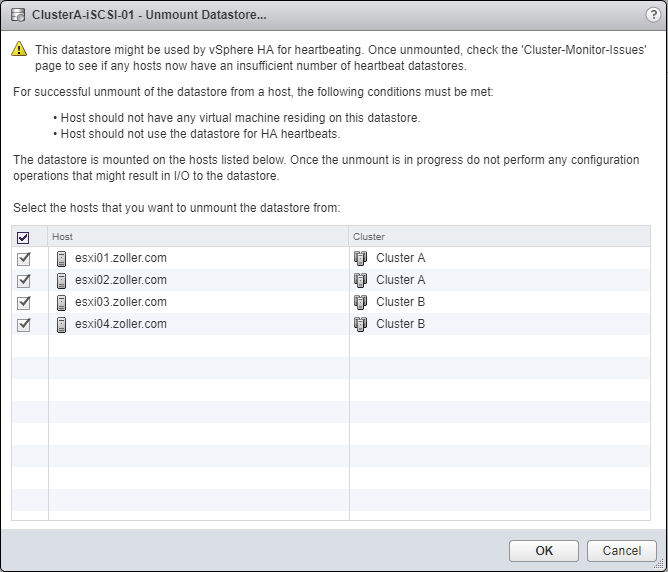
Make sure you select all hosts.
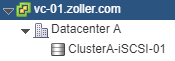
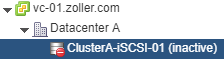
Wait for the vSphere task to complete. Once done, you should see this in inventory.
4. Detach the Disk Device
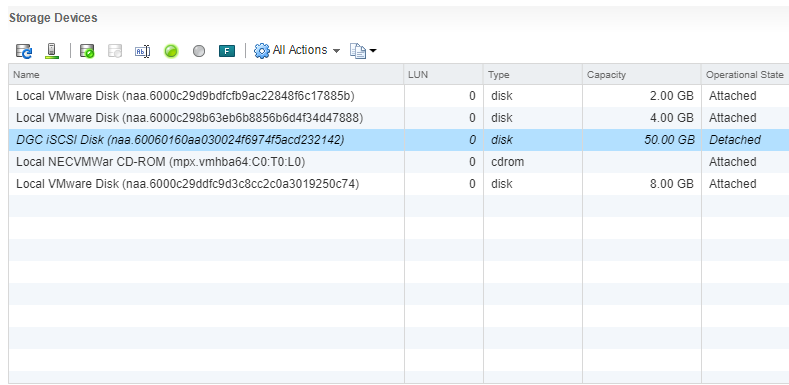
Now that it’s unmounted, we have to go to each ESXi host and detach the disk device that corresponds to that VMFS volume. Go to the host and choose Configure -> Storage Devices.
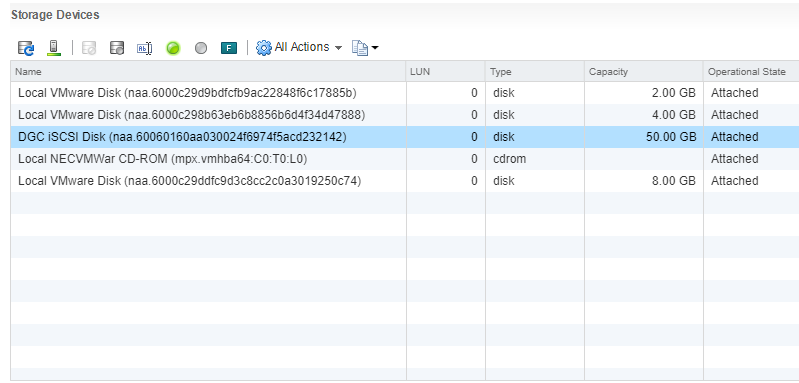
Highlight the device corresponding to the datastore you just unmounted. From the Actions menu, choose “Detach” or click the icon.
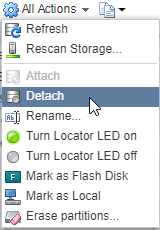
Click Yes to confirm.
Once detached, the state should change.
Repeat this process on all hosts.
5. Rescan for Disks
Still on the Storage Devices screen, click the Action menu and choose Rescan Storage.
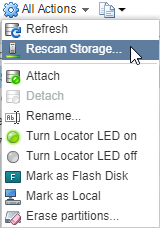
Click OK for both check boxes.
Rinse and repeat on all ESXi hosts.
Once all hosts have been rescanned, you’ll see the previously inactive datastore has vanished.

At this point, you may now have your storage administrator unpresent the LUN from the ESXi hosts but not before. Once they have done so, if you were to rescan one more time, you’ll see the old device that was in a Detached state has been removed from the list entirely.
And that’s it. It’s not a complex process, but it needs to be done in a certain order to make your vCenter inventory and host view all tidy.