Photon Docker Container Hosts in vRA 7.2

vRealize Automation 7.2 was released in late November with the much-heralded release of container support. You can read about it in the official announcement blog here and a post from Jad here, but other features also accompanied containers including support for Azure, ServiceNow integration, and others. Since containers has been and continues to be such a hot topic, I wanted to explore this feature in depth and I’ll be writing several posts that cover all aspects of Docker and containers through vRA, so stay tuned here for more posts.
In this post, we’ll look at how to create and deploy Docker container hosts (called Engines) using VMware’s purpose-built Linux distribution for running containers called Photon OS, and then how to make those container hosts managed by Admiral, the container orchestration system embedded within vRA. You will need an Enterprise license for the container management portion and the software authoring portion.
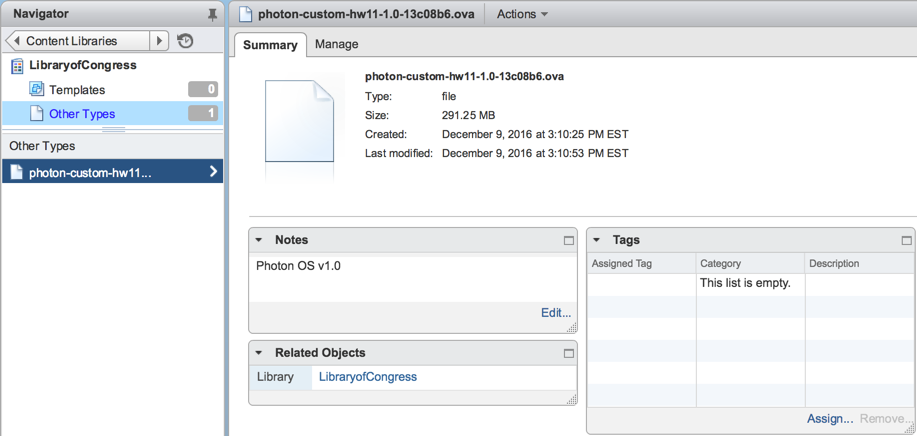
To start, grab the latest OVA of PhotonOS here and import it into your vSphere. If you’re on vSphere 6 and already have a Content Library created, you can import it there for safekeeping, just know it’ll show up in your “Other Types” since it’s an OVA and not an OVF.
Deploy that to a new VM and power it up. The default password is ‘changeme’ and, well, you’ll have to change it. Once that’s done, it’s time to start templatizing Photon so we can consume it in vRA. To do so, let’s get everything up-to-date so we don’t have to do that after. Photon is a new Linux distribution that doesn’t use yum or apt, and instead uses tdnf. In order to update all packages, run tdnf distro-sync and see what it finds.
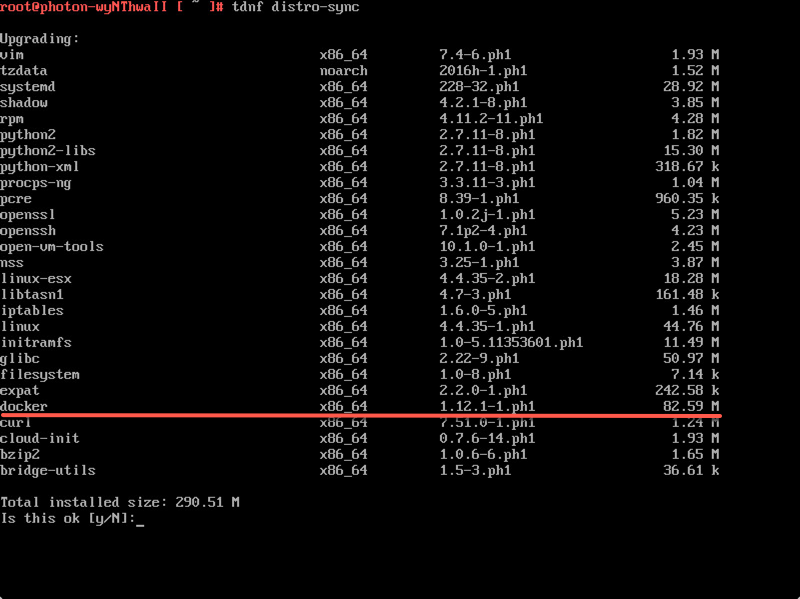
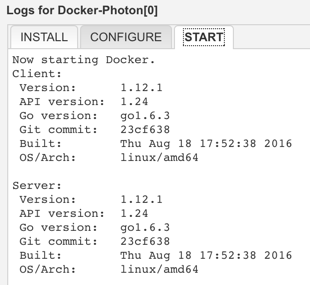
As you can see, there are quite a few packages that can be upgraded at the time of this writing, but one of the most important ones we get by updating packages is Docker v1.12. This is the current major release and was significant advancement over the previous in that swarm mode is now built-in. We’ll save that for another article, however. Once you update all the packages, go ahead and reboot Photon. A simple reboot command will suffice.
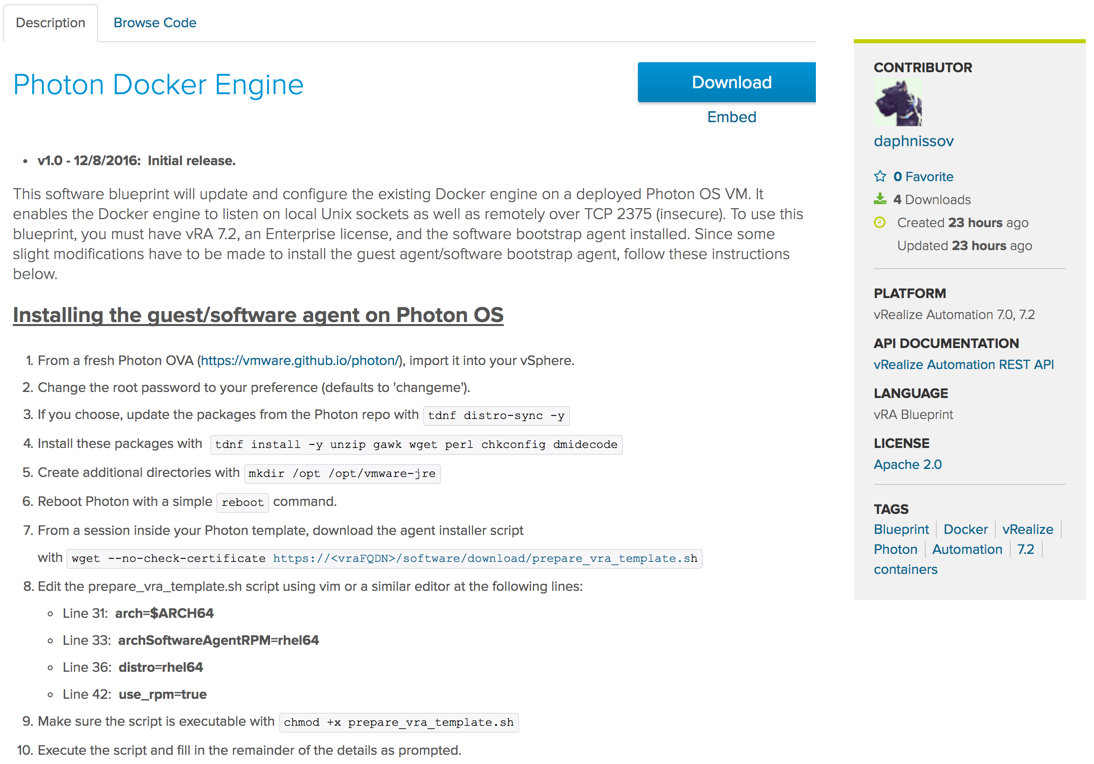
Now that Photon is current, we need to install the vRA guest/software agent. To do so, let’s install one more package manually to retrieve the installer script from the vRA appliance. From a command prompt, enter tdnf install wget -y and watch it download and install it. Once that’s done, let’s get our script. Enter wget --no-check-certificate https://<vraFQDN>/software/download/prepare_vra_template.sh to download the file locally. Make sure it is executable by setting the execute bit with chmod +x prepare_vra_template.sh. At this point, you could try to run it just like you would normally do, but in this instance the script will fail rather quickly. The reason being twofold: 1) We don’t have all the utilities installed in Photon that the script calls; and 2) The script hasn’t yet been updated to take into consideration Photon OS. Luckily, I’ve already figured out what it needs in the way of packages and parameters, so I’m here to save you some time. Enter the following to install five more packages:
1tdnf install -y unzip gawk perl chkconfig dmidecode
Next, we need to create some directories which are missing in Photon, so enter mkdir /opt /opt/vmware-jre to create them. After this, we must make some manual edits to the installer script to trick it into thinking it’s being installed on some other Linux distribution than Photon. Make the following adjustments at the lines indicated. It’s easiest to do so using the all-power vim since it has built-in line numbers.
1Line 31:  arch=$ARCH64
2Line 33:  archSoftwareAgentRPM=rhel64
3Line 36:  distro=rhel64
4Line 42:  use_rpm=true
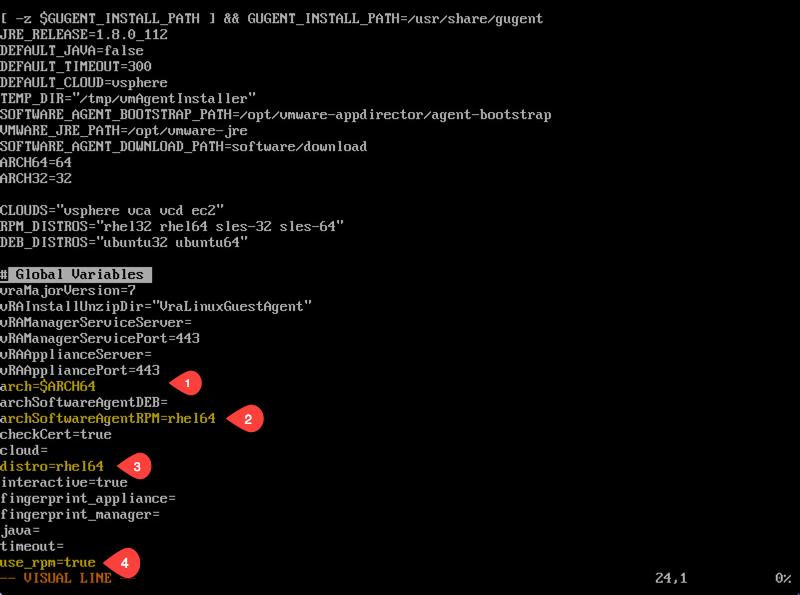
I tried to highlight the text as it should appear after editing, and place callouts in the above screenshot. Now that we have that done, we should be able to execute the script (finally) and put in the info as requested when prompted. If you followed the above instructions correctly, the script should install.
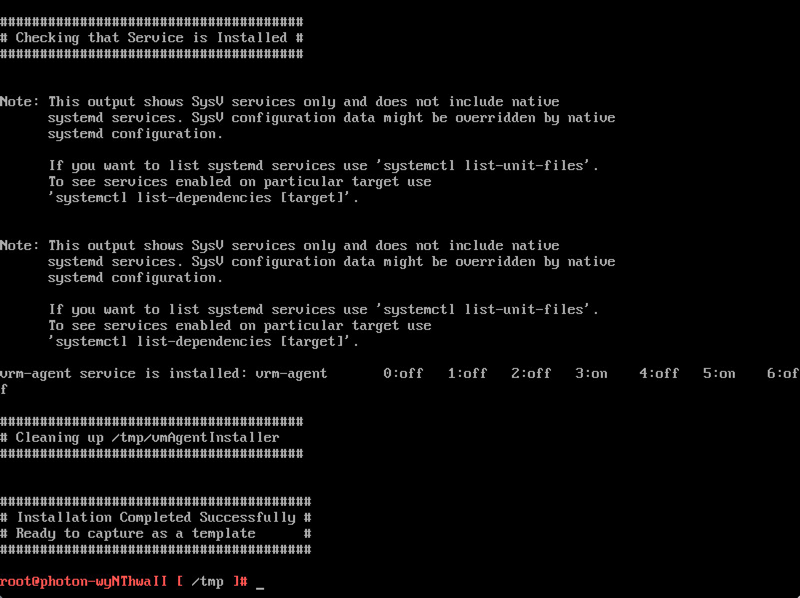
Once it installs successfully, you’re done, just shutdown Photon and convert it to a template.
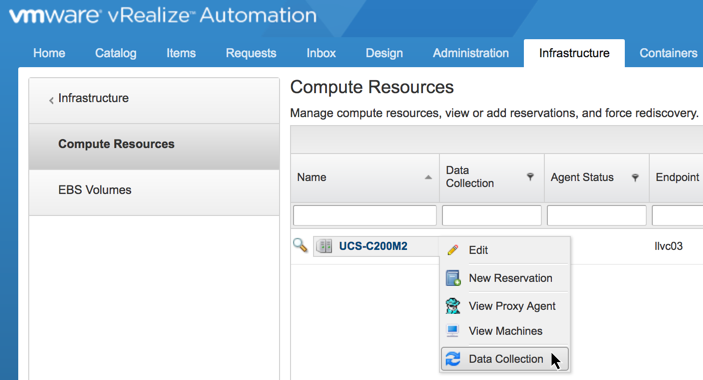
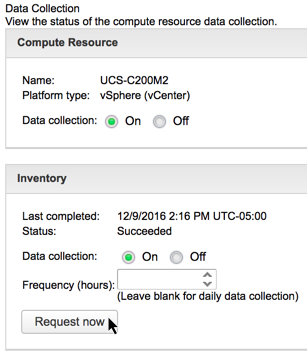
From within vRA, we need to run a data collection on the inventory so it sees your new template. From your compute resource where the template is registered, request an inventory collection.
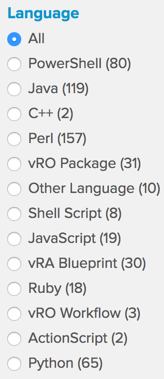
Once that completes, we should be able to make use of that new template. Next, we need to have a software blueprint that properly configures the Docker engine within Photon. Again, I’m here to help you having already done the heavy lifting. It just so happens I’ve been the exact software blueprint you’ll need in this case and have shared it with the community. Head over to the VMware Developer Center to the portion called Samples Exhange and download my blueprint. If you’re not familiar with this site, it’s terrific. They provide a community marketplace where anyone can register and upload custom content including things like PowerShell scripts, vRO packages, and vRA blueprints.
If you take a look at the page containing my Photon Docker Engine software blueprint, you’ll also find the same instructions there to successfully install the software agent inside Photon.
Once you have my blueprint, you’ll need to install the CloudClient to import it into your vRA 7.2 environment. In the interest of brevity, I won’t cover extensively how to use CloudClient, except for the two main commands you’ll use. To login to your tenant, use vra login userpass --tenant <my_tenant>, and finally to import the blueprint use vra content import --path <my_path\my_blueprint.zip> --resolution skip. You should see a message similar to the following:

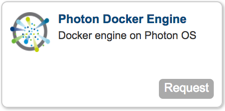
If so, you should see a “Photon Docker Engine” blueprint show up in your Software Components.
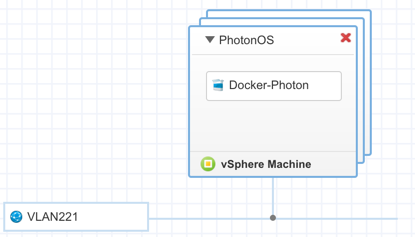
Next, we need to create a machine blueprint for Photon that contains our Photon Docker Engine software component as well as set some parameters around what we will allow users to do when they request this. Drag a vSphere machine onto the canvas with an existing network, and finally the Docker Engine blueprint goes on the machine. In the Build Information tab for your machine, clone from and pick your Photon template you created earlier.
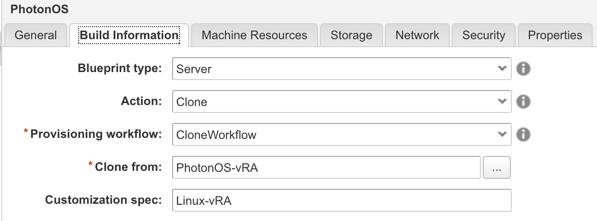
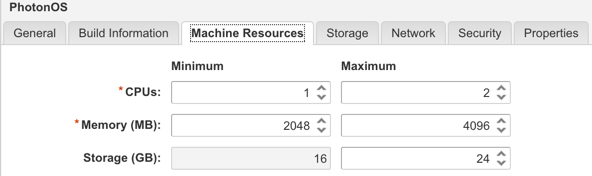
You must select a valid Linux customization spec in vCenter in order for the hostname and IP to be set properly. In the Machine Resources tab, select how large you’ll allow this machine to be when requested.
And back in the General tab, crank up the maximum instances if you want more than just one.

The resulting canvas should look something like this:
Now we have the blueprint built like we want. We can certainly deploy it as-is and out comes a Photon VM with Docker installed, running, and accessible, but we also want this to be a container host registered with Admiral under the Containers tab so we can deploy containers at a later step.
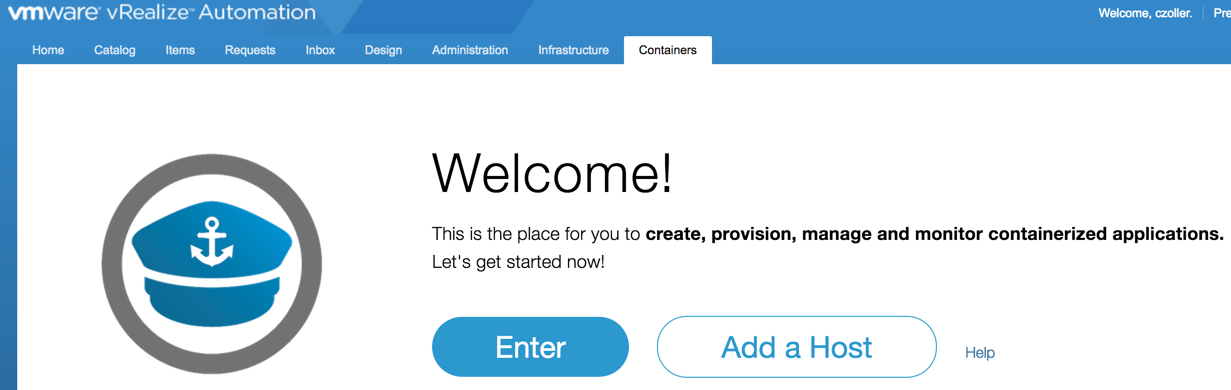
While we could add the host manually, as shown above, once it was deployed, that wouldn’t be very automated of us. Fortunately, with vRA 7.2, they’ve made this possible via a yet-undocumented ability enabled through property groups.
If you go to Administration -> Property Dictionary -> Property Groups, you’ll see two new property groups there.

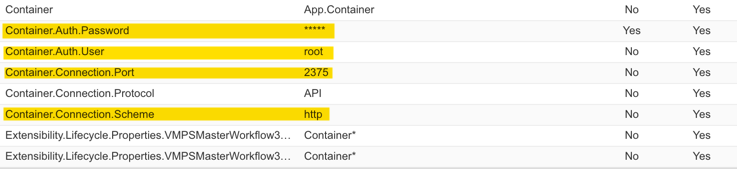
These property groups handle the container host registration process for us in Admiral. There is one for certificate authentication and another for user/pass authentication. My Docker blueprint exposes the Docker engine API on port 2375, which does not use certificates and should therefore be considered insecure. This may be fine for some but not all environments. Because both of these property groups assume a secured channel of communication, we need to make some changes. Clone the property group with user/pass combo to a new one and name it something you can find. Since the originals are visible in all tenants, so too will this clone unless you create a group anew. Edit the User, Password, Port, and Scheme custom properties within your clone to reflect the credentials set on your Photon template, port 2375, and HTTP. It’s important that you do NOT change the custom property named “Container” as doing so will cause it to not register with Admiral.
If you don’t want to see any of these properties show up on the request form, edit them accordingly.
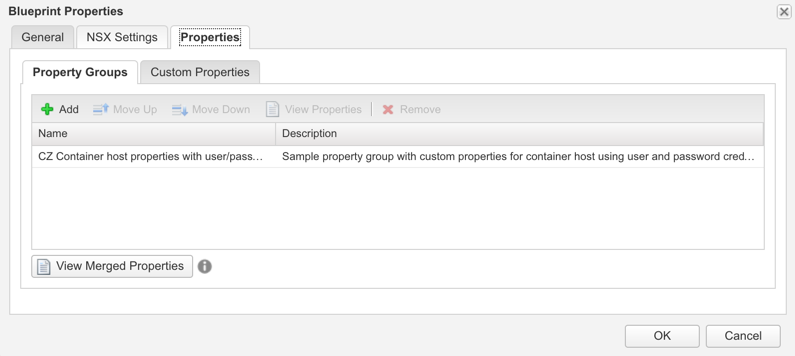
Now edit your blueprint and attach this newly-cloned and edited property group to the deployment.
Go through the usual steps of catalog and entitlement management so you can request your Photon machine.
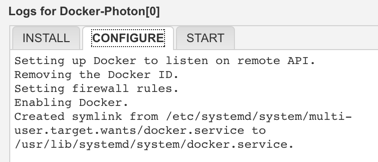
Fill out your form as necessary, add more instances if you wish, and then submit the request. Go check the status of your request and see the various lifecycle stages progress during the Docker engine configuration process.

If all that was successful, you should be able to go to the Containers tab and see this new host ready to be allocated.
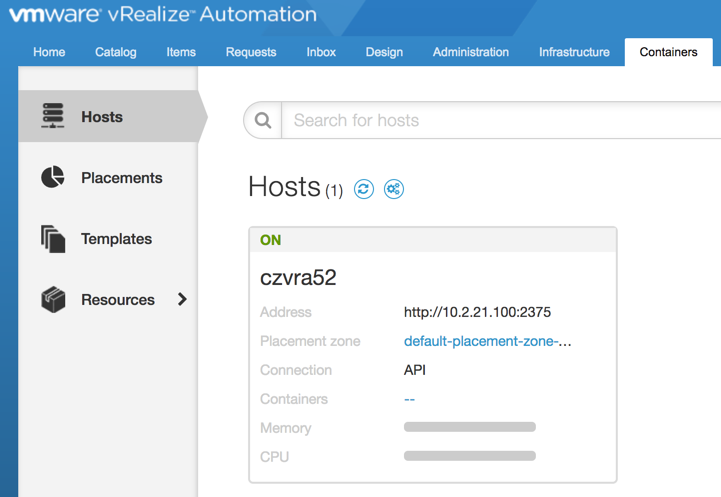
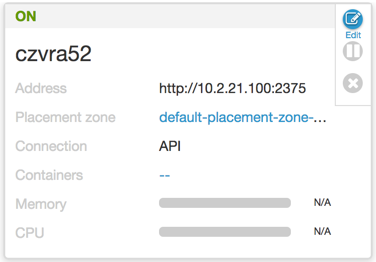
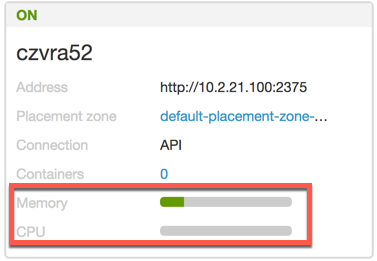
Cool! You can see it puts it in the default placement zone, but ultimately you’ll want to create your own and move container hosts into those as needed. At this point, the container host is registered, but it isn’t yet available to receive containers. We need to edit the host to set a Placement Zone and a Deployment Policy. Click the edit button in the top right and let’s set some of those things.
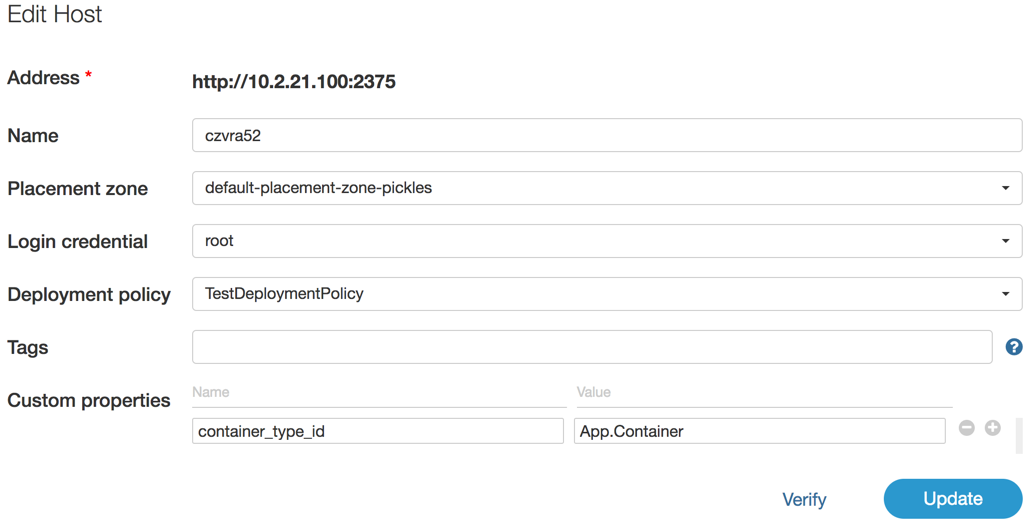
Create a placement zone and a deployment policy of your choosing. I’ll go into those more later, but for now pick a name just to complete the host configuration and click Update. Now with that done, you’ll notice a couple things. Firstly, the memory and CPU usage bars will contain data. Secondly, if you login to Photon and inspect the running containers with docker ps, you’ll see a new container which is the Admiral agent.

So there you have it. We’ve built a Photon template that will be used for our container infrastructure, installed and run a custom software blueprint which handles all the Docker configuration, and made it join Admiral as a managed host upon which we’ll later build to deploy our containerized applications.
I hope you’ve found this informative and helpful so you can begin experimenting with the new containers feature in vRA 7.2. Keep an eye out for more articles covering Docker and containers in vRA!